- Get link
- X
- Other Apps
POPULAR POST
- Get link
- X
- Other Apps
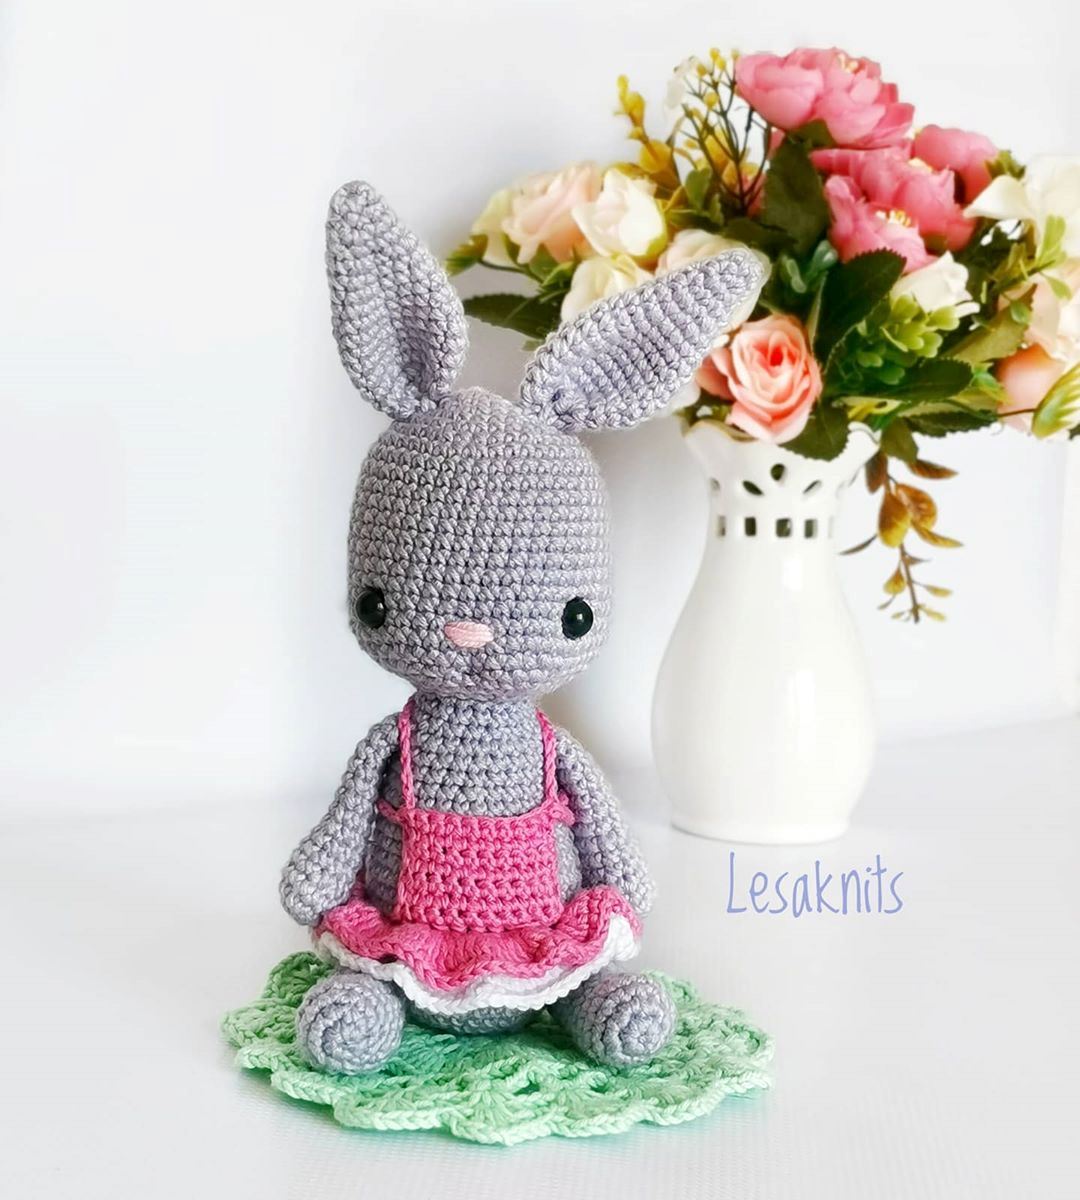
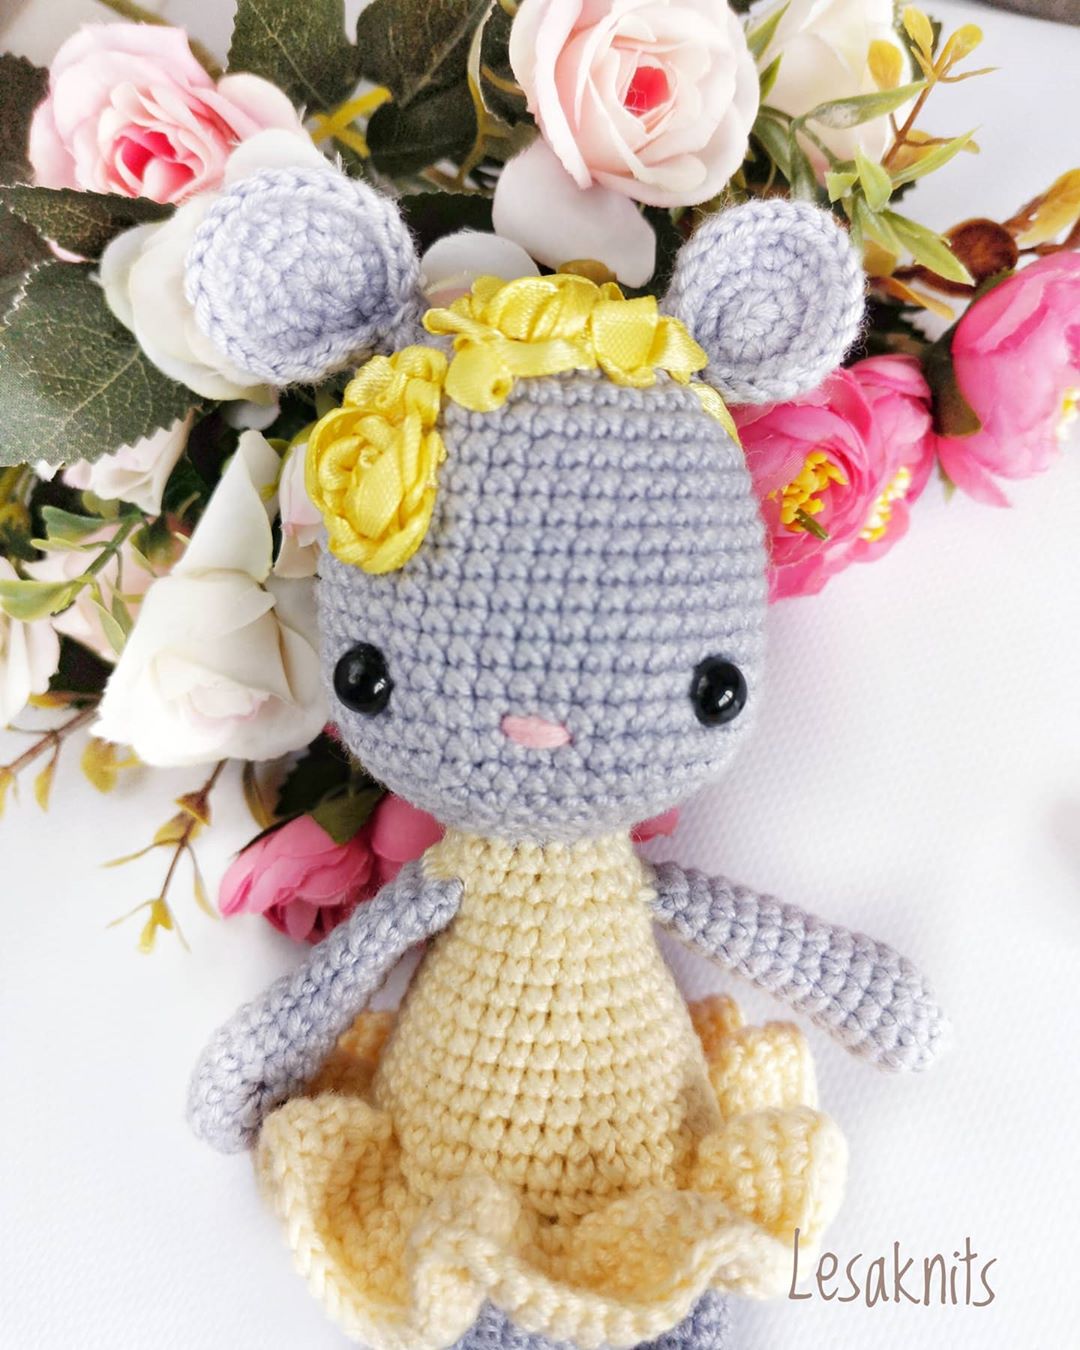
Amigurumi Bunny and Mouse Free Pattern
Hello there. Welcome to the Amigurumi World.
We have a new amigurumi pattern for you today. We bring you new patterns every day.
fruit models, decorative models, animal models, pencil head models, finger puppet models and more are both the most loved and the most knitted knitting models. You can choose from hundreds of free knitting models and start knitting right away with easy and detailed explanation knitting recipes! Knit a lot, keep it to yourself or give it to your loved ones!
- Yarn: Alize Cotton Baby Soft (100 g/270 m, 50% cotton, 50% acrylic) #21 (grey) and #13 (yellow)
- Hook size: 2.0 mm
- Pink yarn for emboidering nose (50 g/130-180 m)
- 6 mm safety eyes
- Stitch marker
- Sewing needle and scissors
- Fiberfill
Abbreviations:
R = row
st = stitch
sl st = slip stitch
sc = single crochet
inc = 2 sc in the next stitch
dec = single crochet 2 stitches together
BLO = back loop only
FLO = front loop only
F.o. = finish off
(12) = number of stitches you should have at the end of the round/row
(…)*6 = repeat whatever is between the brackets the number of times stated
Head
R 1: 6 sc in mc (6)
R 2: (inc)*6 (12)
R 3: (1 sc, inc)*6 (18)
R 4: (2 sc, inc)*6 (24)
R 5: (3 sc, inc)*6 (30)
R 6: (4 sc, inc)*6 (36)
R 7: (5 sc, inc)*6 (42)
R 8-17: 42 sc (10 rows)
R 18: (6 sc, inc)*6 (48)
R 19: 48 sc
R 20: (6 sc, dec)*6 (42)
R 21: (5 sc, dec)*6 (36)
R 22: (4 sc, dec)*6 (30)
R 23: (3 sc, dec)*6 (24)
R 24: (2 sc, dec)*6 (18)
Stuff with fiberfill.
F.o. and leave a long tail for sewing.
Insert safety eyes on R 17. Count from the stitch marker (the stitch marker must be in the center of the head) 15 sc from both sides and insert safety eyes at the distance of 12 st from each other.
Emboidery a nose between R 18 and R 19.
Ears (bunny)
R 1: 6 sc in mc (6)
R 2: 6 sc (6)
R 3: (1 sc, inc)*3 (9)
R 4: 9 sc
R 5: (2 sc, inc)*3 (12)
R 6: 12 sc
R 7: (3 sc, inc)*3 (15)
R 8: 15 sc
R 9: (4 sc, inc)*3 (18)
R 10: 18 sc
R 11: (5 sc, inc)*3 (21)
R 12-13: 21 sc (2 rows)
R 14: (5 sc, dec)*3 (18)
R 15: 18 sc
R 16: (dec)*9 (9)
Do not stuff with fiberfill.
Fold the ear edges together and fix them in such position with a couple of stitches.
Leave a long tail for sewing.
Ears (mouse)
R 1: 6 sc in mc (6)
R 2: (inc)*6 (12)
R 3: (1 sc, inc)*6 (18)
R 4: (2 sc, inc)*6 (24)
Do not stuff with fiberfill.
F.o. and leave a long tail for sewing.
Sew ears on R 4 of the head in the center of the head.
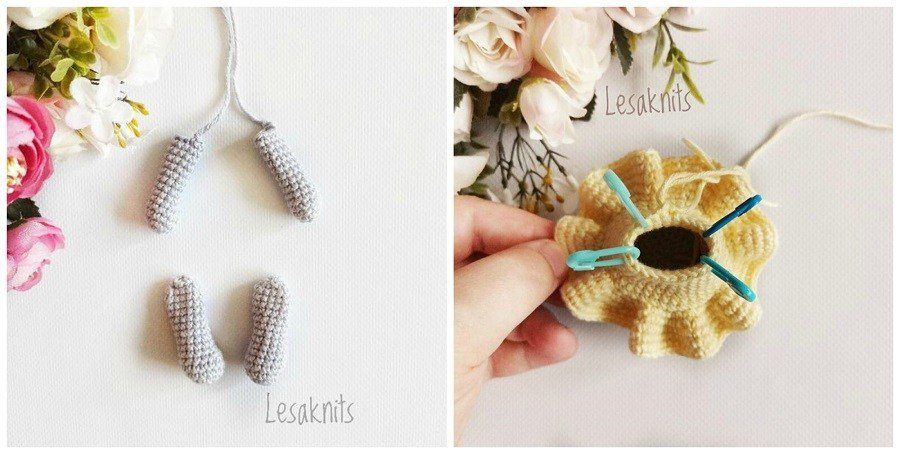
Arms (make 2)
R 1: 6 sc in mc (6)
R 2: (inc)*6 (12)
R 3: 12 sc
R 4: 4 sc, 2 dec, 4 sc (10)
R 5-14: 10 sc (10 rows)
Stuff only bottom part of the arm.
F.o.
Legs (make 2)
R 1: 6 sc in mc (6)
R 2: (inc)*6 (12)
R 3: (3 sc, inc)*3 (15)
R 4: 6 sc, 2 dec, 5 sc (13)
R 5: 5 sc, dec, 6 sc (12)
R 6-14: 12 sc (9 rows)
R 15: (dec)*6 (6)
Stuff with fiberfill till R 9.
F.o.
Body
R 1: 6 sc in mc (6)
R 2: (inc)*6 (12)
R 3: (1 sc, inc)*6 (18)
R 4: (2 sc, inc)*6 (24)
R 5: (3 sc, inc)*6 (30)
R 6: (4 sc, inc)*6 (36)
R 7-10: 36 sc (4 rows)
Change to dress color:
R 11-12: 36 sc (2 rows)
R 13: BLO 36 sc
R 14: 36 sc
R 15: (4 sc, dec)*6 30)
R 16-18: 30 sc (3 rows)
R 19: (3 sc, dec)*6 (24)
R 20-23: 24 sc (4 rows)
R 24: Join arms, use a yarn marker: 3 sc, 5 sc together with sc of the 1st arm, 8 sc, 5 sc together with sc of the 2nd arm, 3 sc (24)
R 25: (2 sc, dec)*6 (18)
R 26: 18 sc
Stuff with fiberfill.
F.o.
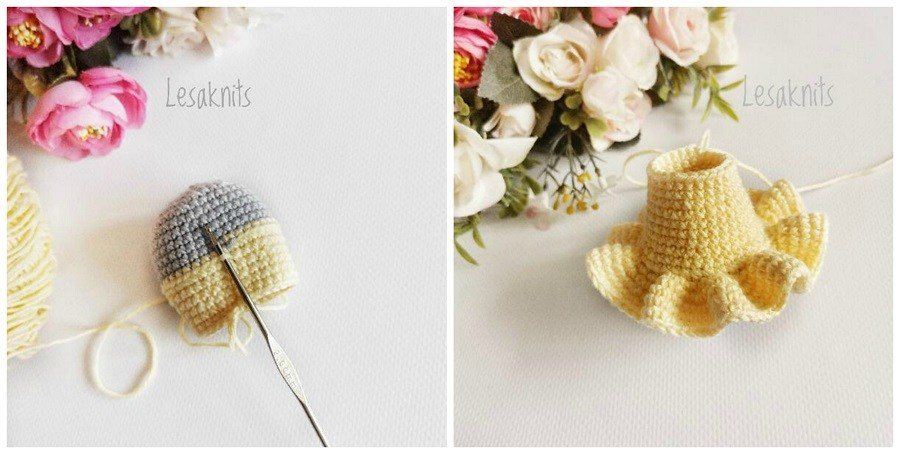
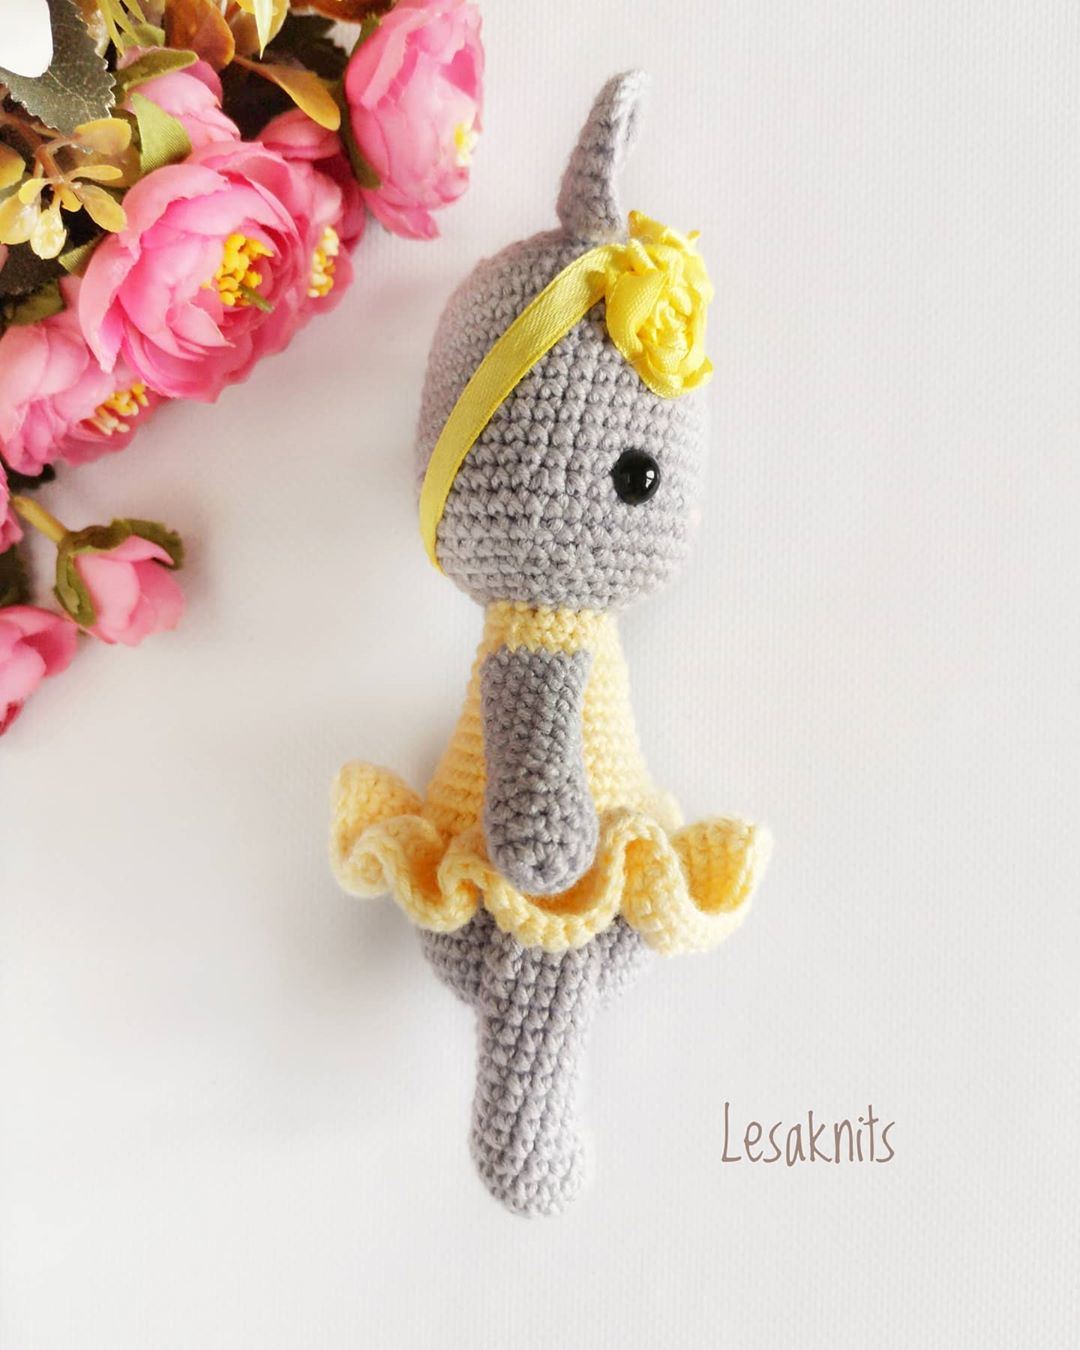
Skirt
Go to R 13 of the body.
R 1: FLO (crochet from the left to the right) inc in every st to the end of row.
R 2: inc in every st to the end of row.
R 3-5: sc in every st to the end of row.
- Get link
- X
- Other Apps
Comments
Post a Comment